If you’ve ever been to a family gathering or Southern barbecue, chances are you’ve encountered the magic of banana pudding. The creamy, dreamy layers of vanilla custard, sweet banana slices, and crunchy Nilla wafers create a dessert that’s more than just a treat—it’s a warm embrace in a bowl. And let me tell you, this recipe is a crowd-pleaser in every sense of the word.
I can still remember the first time I made banana pudding for a big family picnic. My aunt had passed down the recipe to me, with her signature twinkle in her eye, saying, “This one will make them smile every time.”
She was right. There’s something so comforting about the simplicity of banana pudding—it’s not just a dessert, it’s a tradition. The kind of dish that sparks memories and makes you feel connected to everyone around you. That’s what I love about it. It brings people together.
Banana Pudding Recipe
Ingredients:
- 4 ripe bananas (the sweeter, the better!)
- 1 box of Nilla wafers (trust me, the classic is the way to go)
- 1 cup of heavy whipping cream (whipped)
- 1 can of sweetened condensed milk
- 1 cup of cold milk (whole or 2%—your choice)
- 1 package of instant vanilla pudding mix (if you’re feeling adventurous, you can make your own custard from scratch, but this shortcut works beautifully!)
- 1 teaspoon of vanilla extract (pure, always)
- A pinch of salt
Directions:
- Prep Your Pudding: In a mixing bowl, combine your cold milk and instant vanilla pudding mix. Whisk it together until it thickens up (about 2 minutes). Set it aside and let it firm up for a bit.
- Whip Your Cream: In a separate bowl, whip your heavy cream with a hand mixer until soft peaks form. You want it fluffy but not too stiff. It should have a light, cloud-like texture. If you want a little more sweetness, feel free to add a tablespoon of powdered sugar. Fold the whipped cream into the pudding mixture until it’s smooth and dreamy.
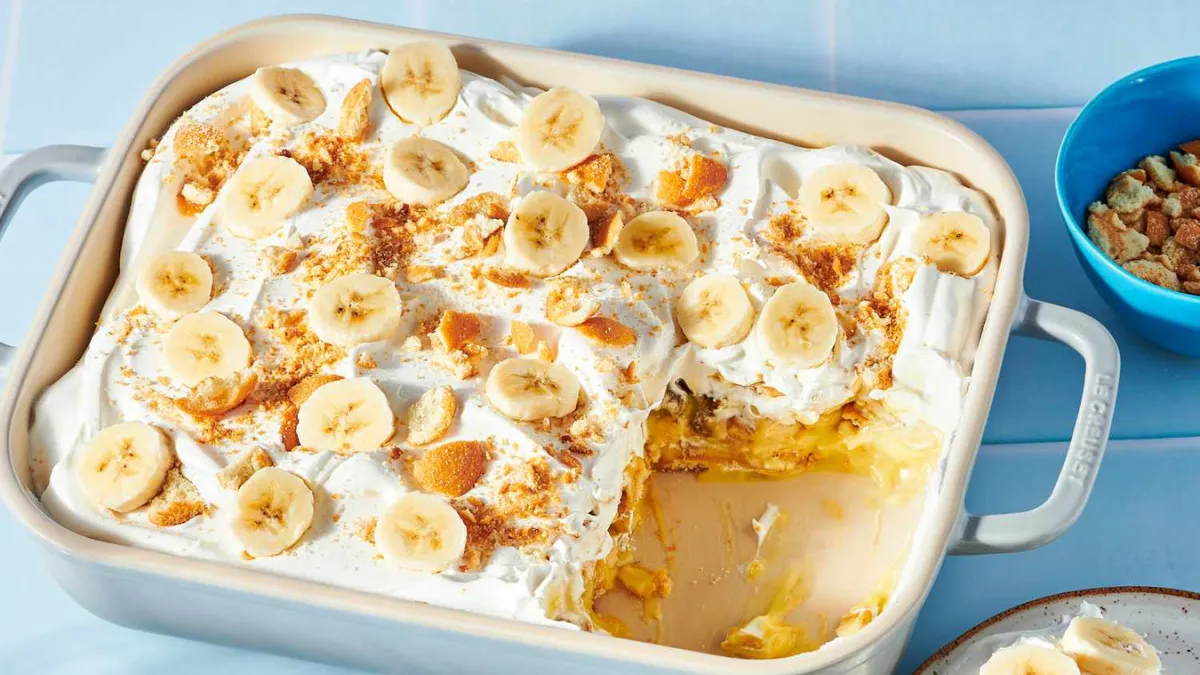
- Layer It Up: Here’s where the magic happens. In a large dish (a 9×13 works perfectly), start with a layer of Nilla wafers at the bottom. Then add a layer of sliced bananas, followed by a generous scoop of the pudding mixture. Repeat the layers until you’ve used everything up, ending with a layer of pudding on top.
- Chill and Set: Cover the dish with plastic wrap and pop it in the fridge for at least 4 hours, or overnight if you’ve got the time. The longer it sits, the more those flavors meld together, and the wafers soften into the perfect texture.
- Top It Off: Just before serving, add a few extra Nilla wafers on top for crunch and maybe even some sliced bananas for a fresh touch.
Tips for Beginners:
- Bananas: Make sure they’re ripe but not too soft! You want them sweet but still firm enough to hold up in the layers.
- Whipping Cream: Don’t skip the whipped cream step. It adds that luscious, velvety texture that makes this pudding unforgettable.
- Chill Time: Patience is key here. The longer you let the pudding set, the better the flavors marry. It’s totally worth the wait!
Dietary Tweaks:
- Dairy-Free: Swap out the regular milk and heavy cream for almond milk and coconut cream. It won’t be quite the same, but it’ll still be delicious.
- Gluten-Free: Easy! Just make sure to pick up a gluten-free vanilla wafer brand, and you’re good to go.
- Vegan: Use coconut milk or any plant-based milk in place of regular milk, and opt for vegan whipped cream. You can also substitute the sweetened condensed milk with a coconut milk-based version for a vegan-friendly twist.
What Does It Taste Like?
Picture this: a spoonful of silky custard that melts in your mouth, perfectly balanced by the sweet, slightly tangy bananas. Then, you get that satisfying crunch from the Nilla wafers, which soften into almost cake-like layers. The flavor is sweet but not overpowering, creamy but light. It’s like a little bite of nostalgia—familiar, comforting, and full of heart.
I can’t tell you how many times this dessert has been the star of a gathering. The “oohs” and “aahs” are always the same, and it never fails to bring people around the table, chatting and laughing as they savor every bite. I hope it brings as much joy to your home as it has to mine.
Give It a Try!
Now, it’s your turn! I’d absolutely love to hear how this turns out for you. Drop a comment below and tell me how it went—did you add any special twists, or did you stick to the classic? Either way, I’m sure it’ll be a hit! If you’re feeling the love, snap a pic of your banana pudding and tag me on social media—let’s share the joy of homemade goodness together.
Happy cooking, and don’t forget to enjoy every moment (and every bite)!