There’s something magical about spring. Maybe it’s the way the light gets warmer, or how the earth seems to exhale after a long winter. For me, it’s always been about Easter—the smells of blooming lilacs, the sound of kids giggling during egg hunts, and the joy of sharing homemade treats that taste like pure nostalgia. And every year, without fail, I make these Easter Peanut Butter Cups.
They’re my spin on the classic, made with fresh, simple ingredients and a little extra love. Soft, creamy peanut butter centers wrapped in rich, glossy chocolate—what’s not to adore? But these aren’t just candies. They’re a tradition.
A Little Story Before We Bake…
When I was a kid, my grandma used to tuck homemade peanut butter cups into our Easter baskets—wrapped in pastel foil, nestled between marshmallow chicks and jelly beans. She never measured anything (classic grandma style), but somehow, they were perfect every time. I remember sneaking into the fridge to steal extras when no one was looking.
Years later, I started recreating her recipe with a few updates: better chocolate, a touch of flaky sea salt, and fun Easter shapes using silicone molds. Now, it’s something I make not just for family, but for friends, neighbors, and—yes—you!
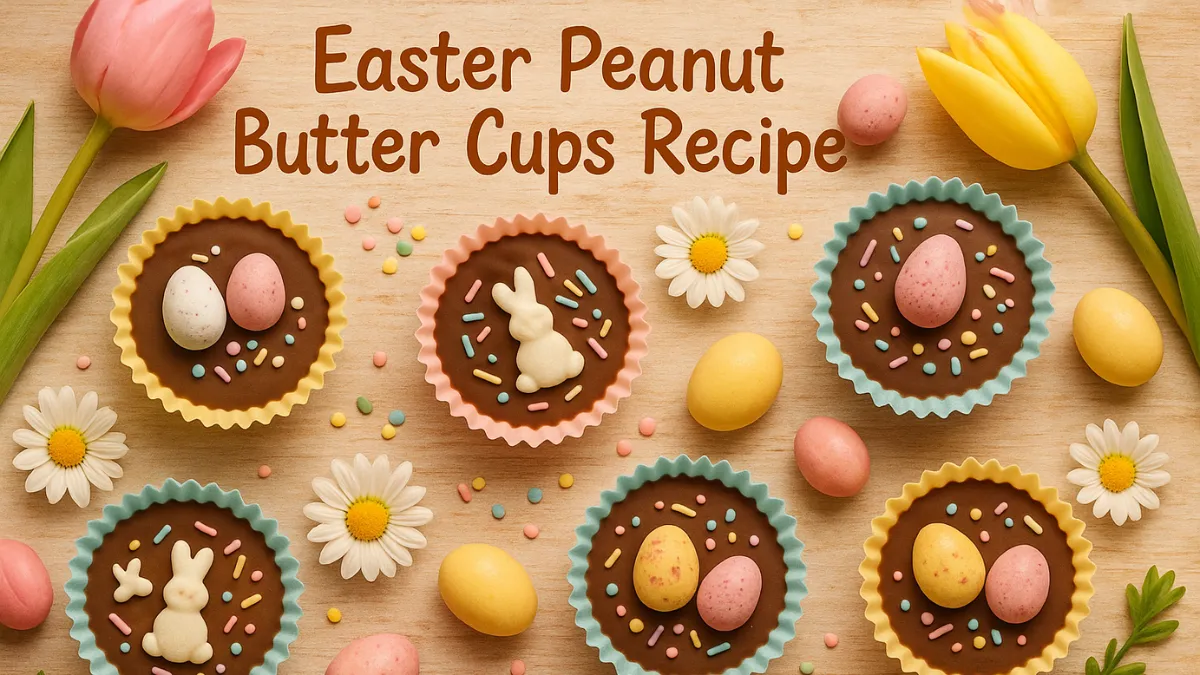
The Recipe: Easter Peanut Butter Cups
Yields: 12-16 cups
Time: 25 minutes (plus chilling time)
Skill level: Easy and beginner-friendly
Ingredients
For the filling:
- 1 cup creamy peanut butter (natural or no-stir both work)
- 1/4 cup coconut oil or unsalted butter, melted
- 1/3 cup maple syrup or powdered sugar
- 1/2 tsp vanilla extract
- Pinch of sea salt
For the shell:
- 1 ½ cups semi-sweet or dark chocolate chips
- 1 tbsp coconut oil (for that silky finish)
Optional Toppings:
- Flaky sea salt
- Crushed freeze-dried raspberries
- Pastel sprinkles (for a festive flair!)
How to Make Them
1. Prep Your Molds
Use silicone egg molds or mini cupcake liners on a tray. Lightly spray or grease if needed. Clear some space in your fridge or freezer—you’ll need it soon!
2. Make the Filling
In a medium bowl, mix peanut butter, melted coconut oil (or butter), maple syrup, vanilla, and a pinch of salt until smooth. It should be thick, creamy, and irresistible. Try not to eat it all with a spoon (but I won’t judge if you do).
3. Melt the Chocolate
In a heatproof bowl, microwave the chocolate chips and coconut oil in 30-second bursts, stirring in between until glossy and pourable.
4. Layer It Up
Spoon about 1 tsp of chocolate into the bottom of each mold. Tilt or tap the molds to coat the sides a bit. Chill for 10 minutes to set.
5. Add the Filling
Once the base is firm, scoop a spoonful of peanut butter filling into each cup. Flatten gently.
6. Top It Off
Cover with another spoonful of melted chocolate, smoothing the tops with the back of your spoon. Add a pinch of flaky salt or a dash of crushed berries if you’re feeling fancy.
7. Chill & Serve
Pop them in the fridge for 30 minutes (or freezer for 15) until set. Then, gently pop them out and try not to devour them all at once.
Ingredient Tips & Swaps
- Dairy-Free? Use coconut oil and dairy-free chocolate chips.
- Nut-Free? Try sunflower seed butter or oat butter.
- Low-Sugar? Go for sugar-free chocolate and swap maple syrup for a keto-friendly sweetener.
These are endlessly adaptable and oh-so-forgiving.
The Look, The Feel, The Flavor
Imagine this: smooth, shiny chocolate that gives way to a soft, nutty center with just the right amount of sweetness. The contrast in textures—snappy shell, creamy filling—is pure bliss. They’re gorgeous too: dark, elegant, and flecked with springtime joy if you add a few pastel sprinkles.
The kitchen will smell like cocoa heaven and roasted peanuts. And if you’re making these with little ones? Expect laughter, sticky fingers, and a lot of happy memories.
Let’s Share the Joy
I hope this recipe finds a spot in your spring traditions—whether you’re making them for Easter baskets, potlucks, or a quiet night with tea and your favorite blanket.
Try them out and let me know how it goes in the comments! Share your creations, your tweaks, or your favorite childhood candy memories. And if you post them on social, tag me—I LOVE seeing your spins on these sweet bites of nostalgia.
Wishing you a joyful, chocolate-filled Easter season.